Showing posts with label Recipes. Show all posts

What to take to a party when the host says don't bring anything...

Monday, February 3, 2014
Aside from the obligatory bottle of wine, of course! ;)


We were invited to a neighbor's house for a casual Super Bowl party and told "no need to bring anything."  I could never show up empty-handed, but flowers or some other hostess type gift just didn't seem appropriate.  Especially considering I'd be taking Lu home to bed after only an hour while the husband stayed behind...

I decided to make a breakfast bread.  Not Super Bowlish at all, I know.  Here's my logic: I hate it when we host and I (undoubtedly) make too much food knowing people will also bring stuff... then it gets thrown away after sitting for hours on the table.   But, I hate even more the next day when you suddenly realize you need to cook all over again.  

Wouldn't it be nice to at least have breakfast taken care of?!


I used this Williams-Sonoma recipe for Lemon-Blueberry Bread, but I did not add the syrup or drizzle icing.  I wanted to keep it simple, but the sweeter version does sound good for an afternoon appetizer with tea.  

Tie on a thank you note and I think it looks much better than another seven-layer-nacho dip.


November Seasonal Ingredient Kickoff... Cranberry Clementine Muffins

Tuesday, November 5, 2013
Nothing says November and Thanksgiving quite like cranberry sauce.... so I had to pick cranberry as this month's seasonal ingredient.  :)

First up, Cranberry Clementine Muffins.  I used This basic recipe for cranberry muffins and added my own citrus twist. 

Ingredients (makes 12 muffins)
2 cups flour
3/4 cup sugar
3 tsp. baking powder
1/2 tsp. salt
1 cup milk
1/4 cup vegetable oil
1/4 tsp. vanilla
1 egg (beaten)
Zest of 1 clementine
1/2 can whole cranberry sauce

Preheat oven to 400 degrees.  Mix dry ingredients together in a large bowl.  Then add wet ingredients and mix until large lumps are gone.  Fill muffin cups 3/4 full and bake until golden (approximately 18-20 minutes).  Enjoy! 


Halloween Recipes (for the whole family!)

Wednesday, October 30, 2013
Happy Halloween Eve!  I hope your week is just as festive and Halloween-fun-filled as ours has been.


 I have a few great pumpkin recipes that I rounded up on Pinterest to share with you (the last three recipes for this month's seasonal ingredient!). 

For breakfast- Pumpkin Nutella Muffins.  They are amazing.  Tip: I halved the recipe and it made 12 muffins.  


Use the other half of your can of puréed pumpkin to make one of the two following pasta recipes for dinner...  

Tortellini with Pumpkin Cream Sauce.  We have eaten this twice this fall and I forgot to take a picture both times.  It is so good.  

Pumpkin & Sausage Penne.  A heartier (and healthier) alternative to the pumpkin cream sauce- and equally as good.  My tip: use sage pork sausage and add kale.  I also halved the original recipe and it made 4 good sized servings.  


If you missed the other pumpkin recipes this month, check them out here:
Pumpkin Walnut Butterscotch Cookies
Pumpkin Pancakes
Pumpkin Pecan Bread

As for making your little one's Halloween extra festive?  Try serving up a  jack-o-lantern grilled cheese with a 'ghost' banana. 


Stay tuned to see Lu's costume tomorrow! 

Pumpkin Pecan Bread

Sunday, October 13, 2013
Happy Columbus Day!  

I'm sharing my interpretation of a classic breakfast bread with this month's seasonal ingredient (pumpkin!).  Don't forget to check out my other seasonal ingredient recipes this month for Pumpkin Walnut Butterscotch Cookies and Easy Peasy Pumpkin Pancakes.

I used this recipe as my pumpkin bread base, but changed the seasoning and added a pecan crunch.  

Forget bacon- Isn't everything better with pecans?! :)


Pumpkin Pecan Bread (makes 2 large loaves)

Ingredients:
3 cups sugar
1 cup veg. oil
4 eggs lightly beaten
1 can pumpkin purée
3 1/2 cups flour
2 tsp salt
2 tsp baking soda
1 tsp baking powder
1 1/2 tbsp pumpkin pie spice
2/3 cup water 
1 cup chopped pecans 

Preheat your oven to 350 and spray 2 loaf pans with nonstick spray.  Combine dry ingredients in a medium sized bowl and set aside.  In a large bowl stir together the sugar and oil.  Add eggs and pumpkin.  Slowly add the dry blend and water, alternating back and forth. (A little dry, a little water, a little dry...)  Last, add your pecans then divide the batter between the 2 prepared pans.  Cook for approximately 45 minutes, or until a knife inserted in the center comes out clean.  

Fair warning:  I gave a loaf to a friend (who happens to be pregnant) and she texted me to say it was "like crack" and she couldn't stop eating it.  Pregnancy binge or is it really that good??  Answer: It really is that good.  

Enjoy! 

Easy Peasy Pumpkin Pancakes

Wednesday, October 9, 2013
This month's seasonal ingredient is pumpkin and today I'm sharing the easiest no-brainer recipe for pumpkin pancakes.  So easy that the recipe in fact is two lines:

Add 1/3 can puréed pumpkin to your pancake batter.  Cook pancakes as usual and sprinkle with pumpkin pie spice before flipping.  

That's it!  


Ridiculously easy, but it makes the perfect fall breakfast.  I served them with sliced cantaloupe to boost the orange fall vibe.  

We'll pretend that the toddler was impressed...


Don't forget to use the other 2/3 can of pumpkin purée in my Pumpkin Walnut Butterscotch Cookie recipe. 

Enjoy! 

Seasonal Ingredient Series Kick-Off: Pumpkin Walnut Butterscotch Cookies

Tuesday, October 1, 2013
Happy October! 

In my opinion, there is no better way to get into the spirit of the season (any season, really) than fiddling around in the kitchen.  Think beautiful summertime salads to Christmas cookies.  Can you see where I'm going with this??

To boost the seasonal vibe in your kitchen, I am going to highlight one seasonal ingredient each month.  I'll work to give you a set of easy recipes using that seasonal ingredient.

Let's kick it off with pumpkin!  (It is October, after all.)

Of course the first recipe has to be a sweet one. :)


Pumpkin Walnut Butterscotch Cookies

Ingredients:
1 stick butter, softened
1/2 cup white granulated sugar
1/2 cup light brown sugar
1 egg
2/3 can puréed pumpkin (save the last 1/3 for another recipe!)
1 1/2 cups flour
1 tsp. baking soda
1/4 tsp. salt
2 tsp. pumpkin pie spice
1/2 cup butterscotch chips
1/2 cup chopped walnuts

Preheat oven to 350.  In a small bowl combine flour, soda, salt, pie spice and set aside.  In a large bowl, cream together butter and sugars.  Add egg and then pumpkin and continue beating until combined.  Slowly add dry mix.  Now, I split my batter and added the walnuts to one half and the butterscotch to the other half.  You can mix both ingredients into the entire batch if you prefer.  Spoon onto greased baking sheet and bake 9-11 minutes, or until browning on bottom edge.  Set on cooling racks until you can't wait any longer!


These still taste great after they are frozen- you can make a large batch and save some for later. 

And share with your child guilt-free because this cookie includes a vegetable. ;)


Pear & Blackberry Mini Pies

Thursday, September 26, 2013
Today I'm sharing another recipe that I used with the homegrown apples& pears from my husband's parents.  My father-in-law mentioned his love for pear & blackberry pie, so I ad-libbed this recipe when we had him over for lunch.  


Pear & Blackberry Mini Pies (makes four)

Ingredients:
5 pears peeled, cored & quartered
12-15 blackberries (more if they are small)
1/4 cup brown sugar
1/2 tsp. vanilla
1 tsp. pumpkin pie spice
1 rolled pie crust dough (premade is easy!)
1 egg (beaten for egg wash)

In a large bowl mix your pear slices, brown sugar, vanilla, and pumpkin pie spice- set aside.  Roll out your premade pie crust dough onto a floured cutting board.  Using the top of one individual sized ramekin, mark four circle indents into the dough.  Then, use a knife to cut out a circle 1/2 inch larger than the indent.  


Spray the inside of four ramekins with nonstick cooking spray and fill with pear mixture.  Top with 3-4 blackberries.  Place one pie dough circle on the top of each ramekin, folding over the edge and pressing to seal.  Use a knife to cut 3-4 slits in the top of the dough.  


Last, brush on your egg wash to give the dough a nice golden brown color as it cooks.  Pop into a 400 degree oven for about 20 minutes, until the crust is golden.  


Optional indulgence: top with a scoop of ice cream before serving!


You can easily adapt this with other types of fruit or spices.  I think the pumpkin pie spice just makes it extra fallish. :)

If you don't have small ramekins, make one large top-crust only pie in a standard pie pan.  I just love individual-sized desserts.  It somehow seems more special.  

Enjoy! 

Homemade Applesauce

Wednesday, September 18, 2013
I told you about how we got a big load of apples and pears Here.  The first thing I did was make two big batches of applesauce.  

It is super easy, and makes your house smell like fall as it simmers away.  Mmmm.  

I've combined a few different recipes to make one that works for me:

15 medium-sized apples (peeled, cored, quartered)
1 1/2 cups apple cider
1/4 cup brown sugar
3 cinnamon sticks
Dash of nutmeg

Bring to a boil then reduce heat and simmer for 45 minutes.  Discard the cinnamon sticks and mash (with potato masher) in the pot.  This makes about 4 cups.  You can serve it warm, cold, or freeze it for later.  


Apples are in season so get peeling.  No need to buy GoGo Squeez applesauce for the next few months! 


Gourmet Lunch in 7 minutes

Tuesday, September 10, 2013

We came home from running errands the other day and I was starrrrrrving.  In a moment of divine culinary inspiration I threw together the following from what I had in the fridge and it was delicious.  I just had to share this impromptu creation!

Sauteed Vegetables & Gnocchi in Goat Cheese Sauce... In 7 minutes! 


Ingredients: 
10-12 Gnocchi (mine was leftover from dinner, if you have frozen cook according to instructions)
Cherry tomatoes (halved)
Baby eggplant (sliced)
2/3 cup chicken stock
Goat cheese
Fresh herbs

Heat some oil in a pan and sauté the tomatoes & eggplant for 2-3 minutes.  Add s&p to taste.  Add the chicken stock and simmer 1 minute.  Last, add gnocchi and stir in goat cheese (I used about 2 tbsp) until the sauce is thickened.  Top with fresh herbs (I used basil).  Devour with a large spoon.  I'm serious. 

You could change up with leftover cooked chicken, pasta, or any type of fresh vegetables.  Enjoy!


Friday Favorites- Back in Town Edition

Friday, July 19, 2013
Happy Friday!

I hope you had a good week and are surviving this massive heat wave.  We are finally home from Florida, where believe it or not the weather was more tolerable!  I have just a few things to share today before we get back into our normal life routine next week... 

Favorite Way to Beat the Heat: homemade Popsicles! 

My mom picked up This cute set of Popsicle molds for our beach vaca- and they were a big hit!  

You don't need a real recipe- just blend together smoothie ingredients and freeze.  healthy, delicious, and you control the sugar content for your little one! 

For 4 popsicles I blended together 1 cup Greek yogurt, 1/2 banana, and 1 peach (peeled & sliced).  It was a little tangy from the yogurt, so a splash of juice could make it a bit sweeter.  But Lu still loved it! 


The molds are already back in the freezer with a new blend:1 cup strawberry yogurt, 2 slices watermelon, 1/2 banana.  Yum! 


Favorite Garden Harvest: Blackberries! 

My tomatoes started coming in while we were gone, but I am most excited that the blackberries are beginning to ripen!  If you don't want to make a big veg garden, I promise you can easily start with a berry bush.   You can pick up a thornless variety of blackberries (or raspberries if you prefer) at your local garden nursery or Home Depot for less than $20- they are super low maintenance. 


 Today was the first handful of yummy home-grown berries.  Blackberries are Lu's favorite fruit and I couldn't wait to give her some from our garden.


Yes, she ate them on the floor in only a diaper...


...Because this is what it looked like when she was done. 

Favorite Baby Travel Necessity:  Explora Bibs

I use these practically every day already, but for traveling they are an absolute necessity. Just wipe and stash back in the diaper bag.  I only had to bring one bib for the week away- huge packing bonus. 

More travel tips to come (when I finish getting caught up on chores around the house...)!

 Have a great weekend!

Red White & Bluenana Cake

Wednesday, July 3, 2013
Are you still looking for a last minute dessert idea for the Fourth?  I have the PERFECT one for you!  

First, here is the backstory on this recipe's birth...  

I have been admiring the 100 Bundt Cake recipes over at Mix and Match Mama and decided to take a cue from her philosophy and "mix up" my own recipe.  I used the original Bundt cake recipe base and tweaked it.  I thought it would be fun to incorporate blueberries and strawberries (of course!) as festive fruit, and then I realized I could make it a strawberry-banana cake too!  A classic flavor combo in yogurt, ice cream sundaes, smoothies- so why not Bundt cake?!

Red, White, and Bluenana Bundt Cake

Ingredients:
1 box white cake mix
2 small boxes (3.4 oz each) of banana instant pudding mix
4 eggs
1 1/4 cups water
1/2 cup veg. oil
1 can cream cheese frosting (room temp)
1 jar sugar-free strawberry preserves
Blue food coloring
Fresh strawberries & blueberries for garnish

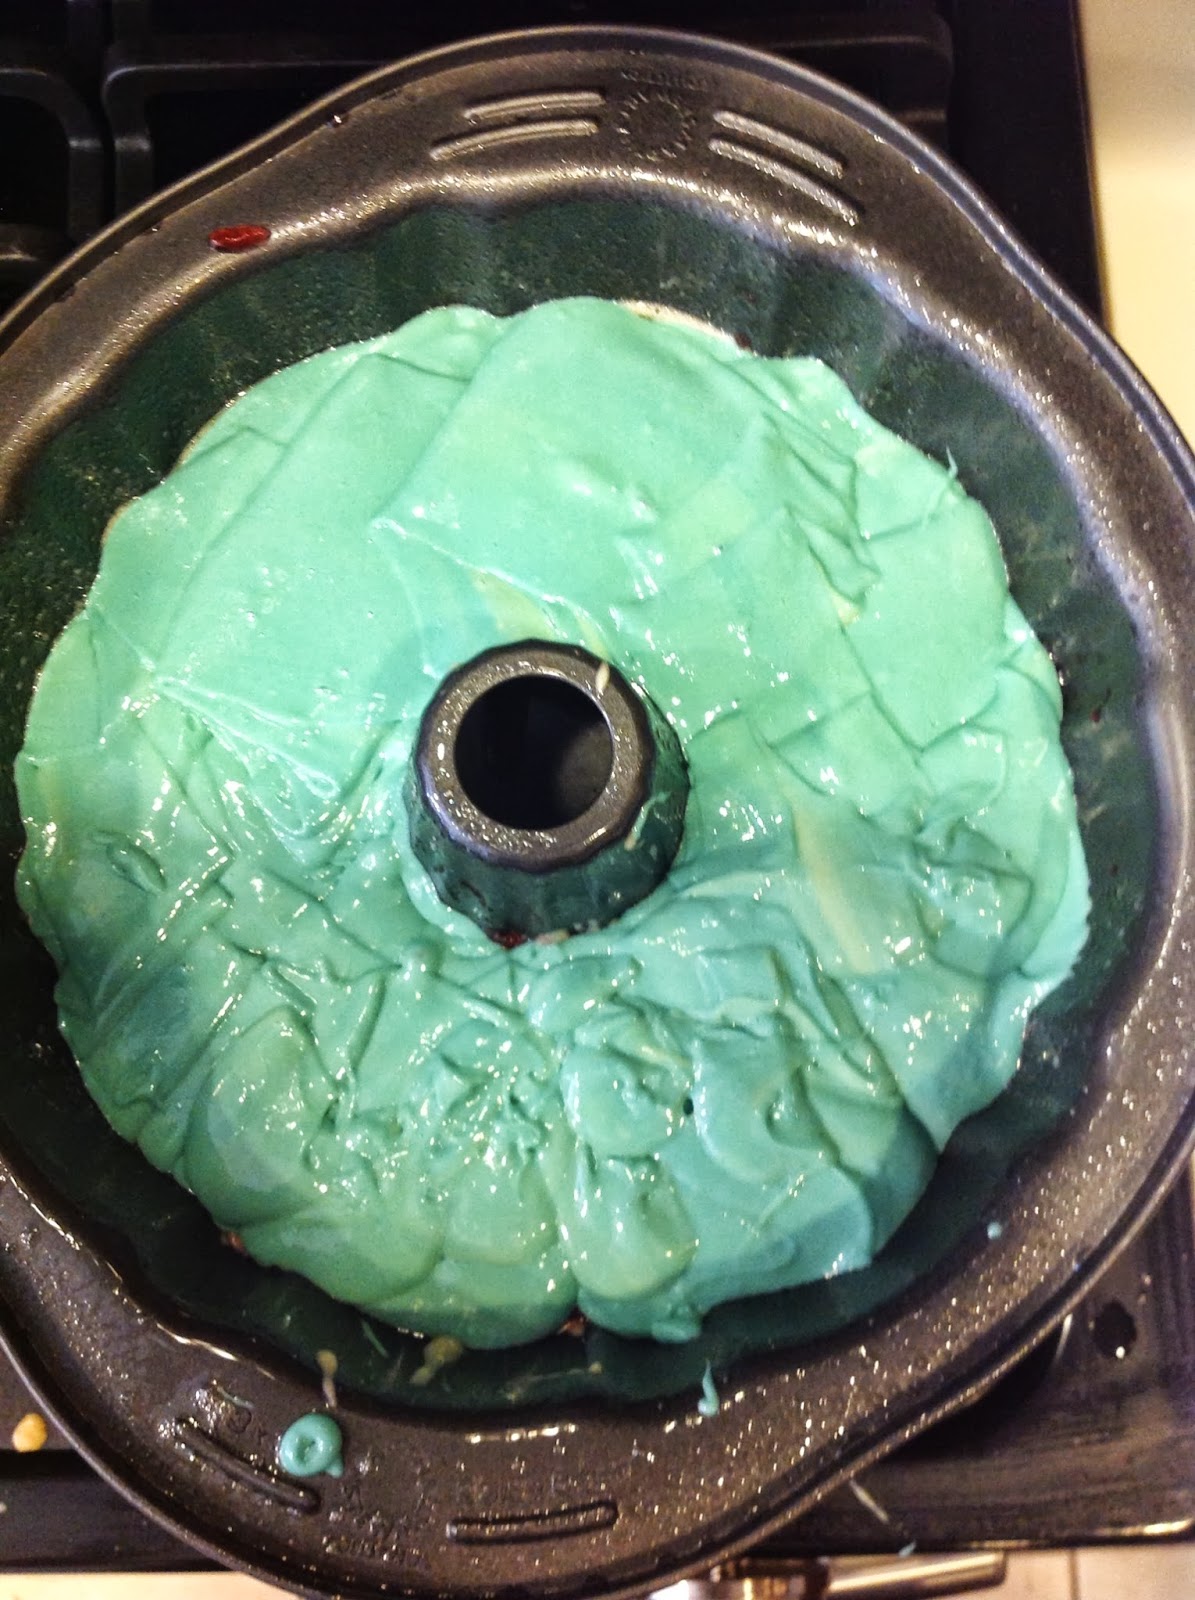
Preheat your oven to 350.  Spray/grease a large bundt cake pan.  Mix together the cake mix, pudding mix, eggs, water, and oil in a large bowl until your batter is smooth.  Now, pour half the batter (just estimate) into your greased cake pan and smooth if needed.  This is your "white" layer.  Spoon your strawberry preserves on top of the white batter, as evenly as possible, leaving only 2 tablespoons reserved for icing.  


Next, add blue food coloring to the remaining batter in your bowl.  Mix to make the color evenly distributed and continue adding coloring until you get your desired shade of blue (I probably used about 15 drops).  Pour the blue batter on top of the preserve layer, again as evenly as possible (but don't drive yourself crazy!).  


Bake for 40-45 minutes or until a knife inserted into the center comes out clean. Let the cake cool for 10 minutes before flipping it out of the pan and onto your cake plate.  

For the icing, scoop about 2/3 of a container of cream cheese frosting into a small bowl.  Add the reserved 2 tbsp. strawberry preserve and mix together.  If your icing is room temperature you can spoon it over the Bundt cake and it will drizzle over the edges for a pretty homemade look.  Continue until you have the desired amount of icing.  Garnish with blueberries and strawberries.  I chose to fill the center hole with blueberries and line the cake with sliced strawberries- do whatever you like! 


I am DYING to cut into the cake to see the festive colored inside, but we are bringing this to a party.  Will be sure to snap a pic there so you can see! 

Thanks again to Shay over at Mix  and Match Mama for the inspiration!  You can check out all of her Bundt cake recipes Here.


Beating the Heat... With a Watermelon Margarita!

Monday, July 1, 2013
Without any planning, this weekend's wrap-up post seems to be all about keeping cool.  

We started the weekend with the intent to keep working on our yard project, but the muggy weather had us like this instead...


Breaking out the hammock-stand that the husband got for Father's Day!  

Lucy decided to splash in some cool water...


Who needs a pool when you have a dog bowl? 

And then this happened...


Yes, I just stood by taking pictures. 


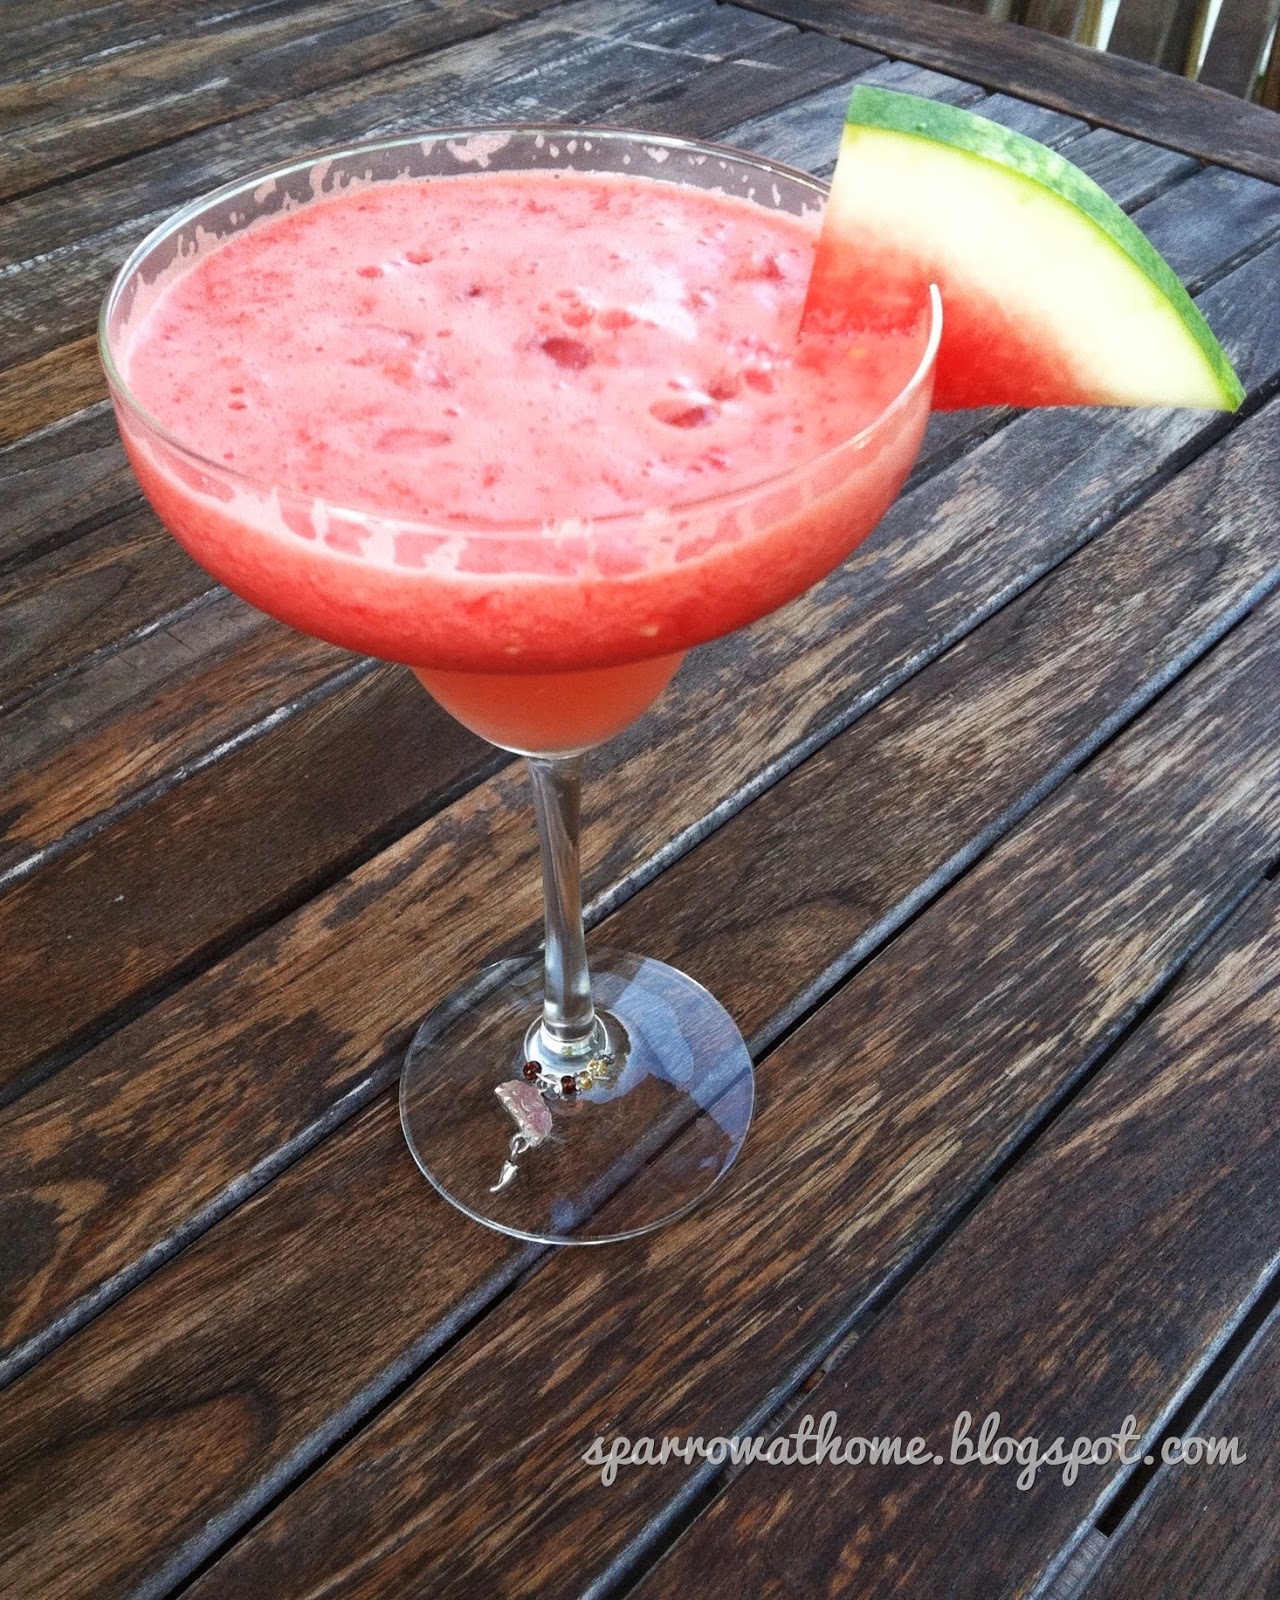
I decided to keep cool with a yummy cocktail (not surprising, right?) using some leftover watermelon.  Here is what I made-up using what we had on hand: 

Recipe for a Foolproof Fresh Watermelon Margarita (makes two):

3 oz tequila
1 oz triple sec
2 oz sour mix
2 slices watermelon cubed

Blend ingredients together.  Pour mix over crushed ice and serve in a margarita glass. 


 Cute garnish is optional.  Enjoy! 

Individual Strawberry Shortcake

Sunday, June 9, 2013
We were invited to a no-longer-a-Surprise 30th Birthday party this weekend and I needed to bring some food.  Since I still had a lot of leftover strawberries from our pick-your-own adventure last week, I decided Strawberry Shortcake would be perfect.  I added a little twist to make it individual portions- ideal for a party to eliminate the hassle of a plate & fork! 

I used this recipe for inspiration, but then just used what I already had on hand (that's pretty much how I cook 90% of the time).

Individual Shortcake Ingredients:
2 c. Flour
1 tbsp. baking powder
3 tbsp. sugar
1/2 tsp. salt
8 tbsp (1 stick) butter cold & cubed
2/3 c. Heavy cream

Preheat oven to 400 degrees.  Take a mini-muffin pan and spray with non-stick cooking spray and then lightly dust bottoms of muffin holes with flour.  Mix together dry ingredients in a large bowl.  Gently mix in cubed butter with your fingers- this should turn into a kind of crumbled mess.  Don't over-mix because you want the butter to stay relatively cold (standard for most pastry recipes).  Next, use your fingers to make a "well" in the center of the dough in the bowl- pour the cream into this space and then slowly fold the dough into the center.  


Use a spatula to scrape the dough from the edges into the center until it was mixed together.  Use your fingers to roll small chunks of dough into meatball-sized balls (again, don't handle too much) and place one ball into each muffin hole.  No need to go crazy here about the perfect size or shape since the ball is going to cook down!  Continue until the dough is gone.  This should fill a 24-count mini tin.  


Now, pop your full muffin tin into the oven and cook until the tops begin to brown (mine took 12 minutes).  Remove from oven and let cool. 


Now, to turn your beautiful mini shortcakes into strawberry shortcake, simply cut in half and fill with sliced strawberry and fresh whipped cream!  


I added some fresh mint from my garden and a little lemon zest into the whipped cream.  A mixed berry shortcake with marscapone would be yummy... Or maybe some basil and goat cheese for a savory dessert?  

If you are taking these to a party or bbq, assemble each in a full-sized cupcake wrapper- this makes for an easy grab-and-eat treat.  


You can also do this a few days in advance if timing is a concern.  I made the shortcakes the day before and then assembled right before heading out, popping them in the fridge at the party until it was time for dessert.  You dont want your beautiful desserts to be soggy!

I'm telling you, these were super-easy to make and tasted delicious.  Who would pass up a cute individual-sized dessert?  No one!  


Happy eating! 
 
Designed with ♥ by Nudge Media Design